
Table of Contents
- Creating a New Profile vs Claiming an Existing OneCreating a New Profile vs Claiming an Existing One
- Step 1 : Go to the Google Business Profile Sign-In Page.Step 1 : Go to the Google Business Profile Sign-In Page.
- Step 2 : Enter Your Business NameStep 2 : Enter Your Business Name
- Step 3 : Select Your Business TypeStep 3 : Select Your Business Type
- Step 4 : Choose Your Business CategoryStep 4 : Choose Your Business Category

How to Create a Google Business Profile From Scratch (Step-by-Step Guide)
-
 Sana
- 14 min read

Creating a Google Business Profile is free. It takes about 15 minutes. This guide walks you through every step, from sign-up to submission.
This is the first step in setting up your presence on Google. Once your profile is live, there’s a full process to optimise, verify, and rank it covered in our [complete guide to Google Business Profile].
In my time creating and optimising 10+ Google Business Profiles, including education institutes and clinics, I’ve seen most listing problems trace back to mistakes made right here, at setup. Getting these steps right the first time saves you weeks of fixing errors later.
Creating a New Profile vs Claiming an Existing One
There are two situations you might be in.
Situation 1: Your business has no Google listing yet. You create one from scratch. This guide covers that process.
Situation 2: Your business already appears on Google Maps, but you don’t manage it. This happens more often than people expect Google sometimes creates listings automatically from other data sources. In this case, you claim it instead of creating a new one.
Read : How to Claim a Google Business Profile That Already Exists
If you’re not sure which situation applies to you, search your business name on Google first. If a listing appears, claim it. If nothing appears, follow the steps below.
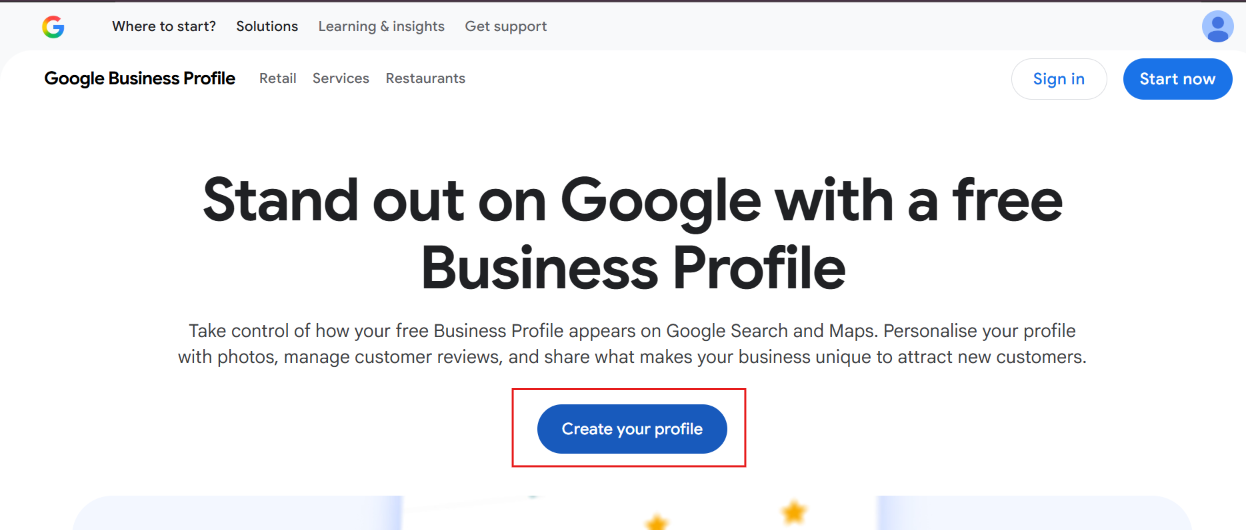
Step 1: Go to the Google Business Profile Sign-In Page.
Visit Google My Business Sign-In Page and click “Create your profile.”
Make sure you’re signed in with the Google account you want managing this listing long-term. Switching accounts later is possible, but it adds unnecessary steps.
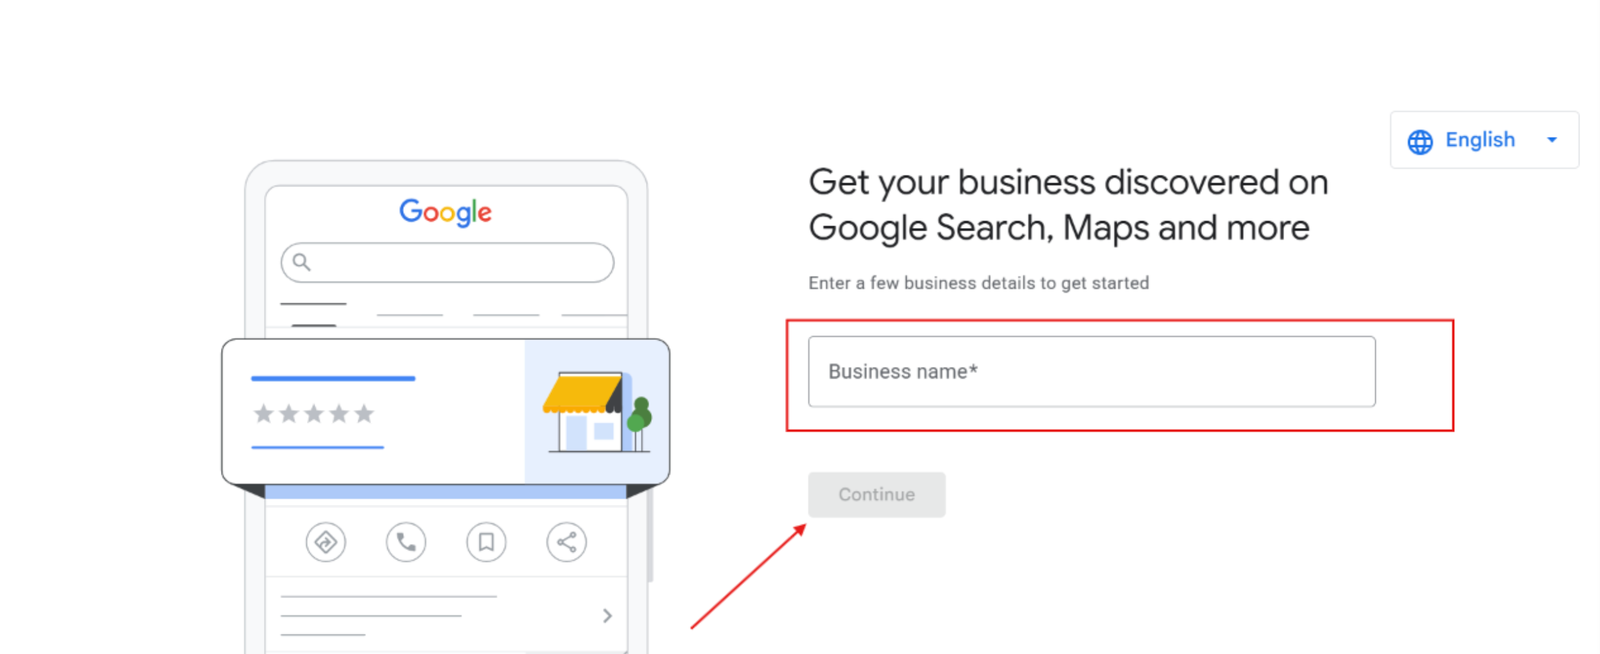
Step 2: Enter Your Business Name
Type your real, official business name. Do not add keywords like “best” or your city name into this field Google’s guidelines don’t allow it, and it can get your profile suspended later.
Use the exact name your customers already know and search for.
Step 3: Select Your Business Type
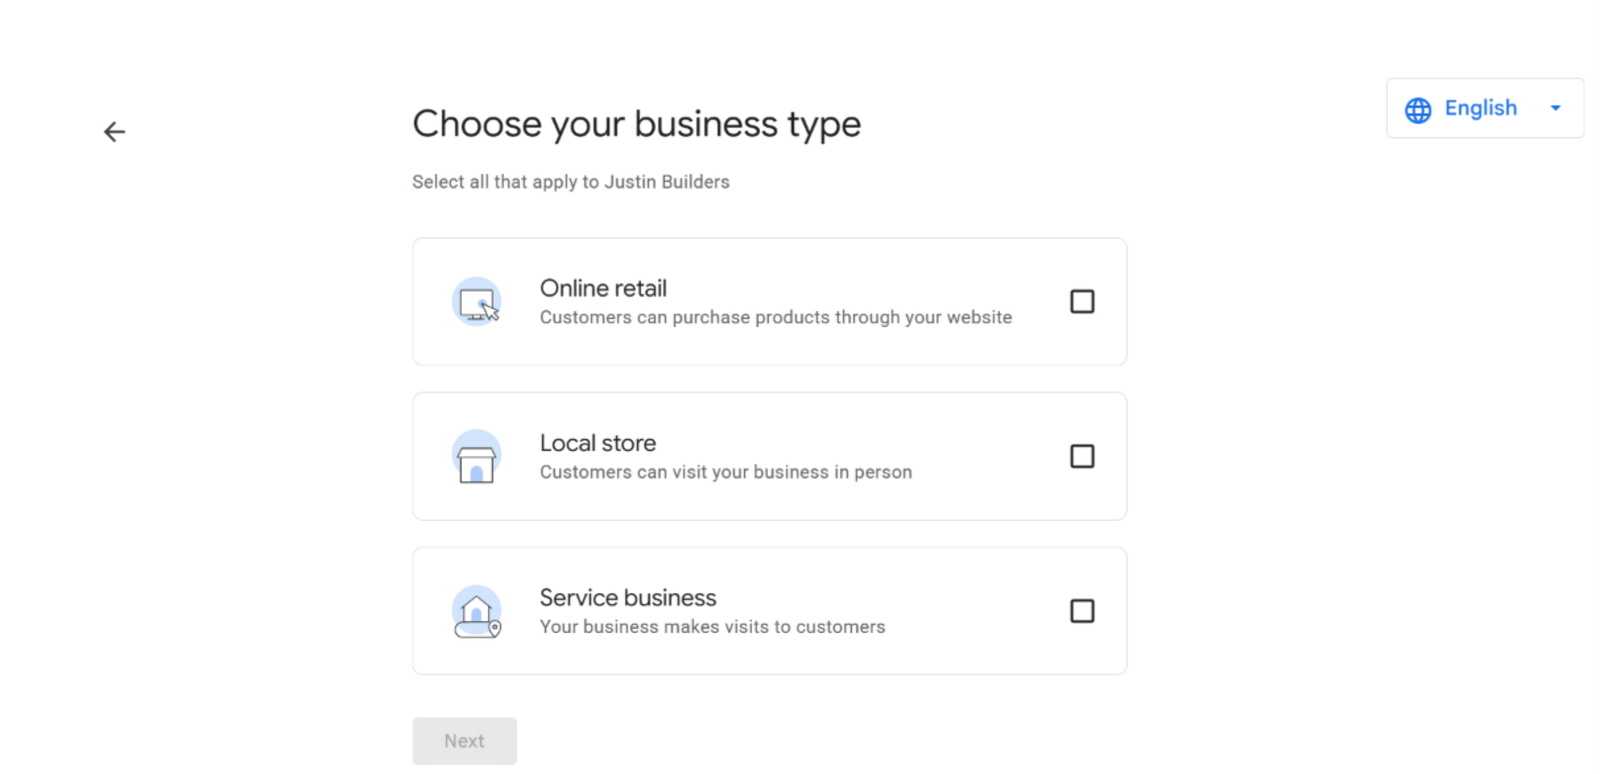
Google asks you to choose one of three business types:
- Online Retail you sell only through a website, with no physical location customers visit
- Local Store customers visit you at a physical address
- Service Business you travel to your customers instead of them coming to you
Choose carefully. This choice affects what information Google asks for next, including whether you’ll need to share your address publicly.
Step 4: Choose Your Business Category
Select the category that most accurately describes what you do, then click Next.
This is one of the most important steps in the entire process. Your primary category has a direct effect on which searches your profile shows up for.
A digital marketing institute, for example, should use a category like “Educational institution” or “Marketing consultant”, not a generic label like “Business”.
Read: How to Choose the Right Category for Your Business